
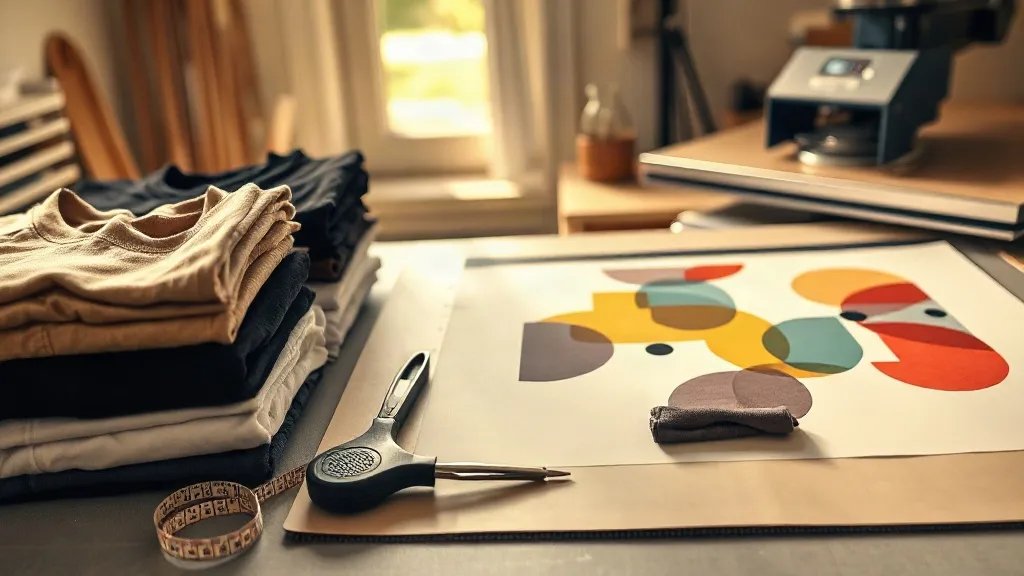
If you have spent any time around streetwear or print shops, you have probably handled a Shaka Wear tee without realizing it. The brand built its reputation on thick cotton, boxy silhouettes, and a price point that lets small print shops experiment without sweating every misprint. Pair that blank with a modern DTF transfer and you get a combination that is genuinely hard to beat for durability and color. This guide walks through why these two things work so well together, how to press them without ruining the fabric, and how to organize a gangsheet so you are not wasting film on a busy production day.
Why Shaka Wear Blanks Suit DTF Transfers
DTF transfers are essentially a printed film of pigment adhesive that bonds to fabric under heat. The bond depends on two things: consistent pressure and a surface that can absorb heat evenly. Loose, thin, or heavily textured fabrics fight you the whole way. Heavyweight cotton does the opposite. It gives the adhesive a stable platform, holds its shape under the platen, and does not scorch as quickly as a lightweight jersey.
That is the practical reason so many shops reach for shaka wear when they are testing a new DTF film or dialing in a press. The fabric is predictable. A 5.5 oz or 6 oz cotton tee from the lineup behaves the same way on Tuesday as it did on Friday, which matters when you are pressing fifty pieces and cannot afford drift in your settings.
The weight and weave question
Heavier cotton means more mass for the heat to travel through, so your press dwell time usually needs a small bump compared to a thin tri-blend. But that same mass is what protects the print during washing. A transfer that bonds properly to a 6 oz cotton tee tends to survive dozens of cycles because the fabric does not stretch or pill underneath the adhesive layer. On a flimsier shirt, the print can crack simply because the garment moves more than the film can follow.
Shaka Wear also runs a range of fits, from standard crew necks to oversized boxy cuts and long sleeves. That variety matters for DTF because placement changes with the silhouette. A left-chest hit that looks right on a standard tee can sit awkwardly on an oversized drop-shoulder cut, so measure the actual garment rather than assuming a fixed offset from the collar.
Prepping the Garment Before You Press
Most DTF failures I have seen in small shops are not film problems. They are prep problems. Cotton blanks ship with sizing, dust, and sometimes a factory finish that resists adhesion. Skipping the prep step is the fastest way to a print that peels at the corners after the first wash.
- Pre-press the shirt for five to seven seconds to drive out moisture. Cotton absorbs ambient humidity, and trapped moisture turns into steam under the transfer, which creates bubbles and weak spots.
- Lint-roll or brush the print area. A single fiber trapped under the film becomes a visible pinhole once the carrier is peeled.
- Check for seams and labels near the placement zone. Thick collar ribbing under the platen creates an uneven surface and uneven pressure.
- Let the garment cool completely if it came out of a hot dryer or a warm storage room. Warm fabric shortens your effective press time and makes results inconsistent.
None of that takes long, but it is the difference between a print that looks professional and one that comes back as a complaint.
Press settings to start from
Exact numbers depend on your press, your film, and the specific garment weight, so treat these as a starting point and adjust from there. For a heavyweight cotton tee, a common range is 320 to 340 degrees Fahrenheit, medium to firm pressure, and a dwell of 12 to 15 seconds for the main press. Peel while warm for a matte, soft-hand finish, or let it cool fully for a slightly glossier, very durable result. A second press of five to seven seconds with a cover sheet or parchment helps lock the edges.
One habit worth building: keep a log. Note the garment, the film batch, the temperature, the pressure feel, and the peel temperature. After a few weeks you will have a reference that beats any generic settings chart, because it reflects your equipment and your climate.
Building a Gangsheet That Saves Real Money
Film is not free, and neither is your time. A DTF Gangsheet Builder lets you place multiple designs on a single sheet so one print run covers an entire order instead of one transfer at a time. For a shop doing small-batch Shaka Wear drops, that is where the margin lives.
The mistake I see most often is treating the gangsheet as a simple packing puzzle. It is really a production plan. Group designs by size and by destination order, leave consistent gutters so your cutter has clean lines, and orient everything the same way so trimming is fast and predictable. If you are printing a run of left-chest logos, cluster them so you can trim a whole block at once rather than chasing individual pieces.
Layout habits that pay off
- Keep a minimum gutter of about 3 to 5 mm between designs so the cutter has room and the film does not lift at the edges.
- Place larger designs first and fill gaps with smaller ones. Starting with small pieces almost always leaves awkward dead space.
- Add registration marks or a corner reference so you can quickly confirm orientation after printing.
- Print a test sheet with one design before committing a full gangsheet of a new artwork. Catching a color shift on one transfer is cheap; catching it on forty is not.
- Save your layout templates. Repeat orders become a two-minute job instead of a twenty-minute rebuild.
There is a second benefit beyond cost. A well-planned gangsheet keeps your press rhythm steady. You are not stopping to hunt for the right transfer or re-trim a messy edge, so the whole batch comes out more consistent.
Placement Notes for Oversized and Drop-Shoulder Cuts
Shaka Wear's boxy and oversized silhouettes are popular, but they demand a different eye for placement. On a standard tee, a left-chest hit typically sits about 3 to 4 inches below the shoulder seam and 3 to 4 inches in from the center. On an oversized drop-shoulder cut, the shoulder seam itself has moved outward, so measuring from it throws the design off center.
Instead, measure from the center of the collar and from the hem. Center the design horizontally on the garment as worn, not on the flat pattern, and check it against the actual chest width. For large back prints, remember that a boxy cut gives you more width but less length than you might expect, so scale the artwork to the real print area rather than a standard template.
Handling seams and pockets
Any print that crosses a seam needs extra attention. Raise the platen or use a seam pillow so the pressure stays even across the ridge, and consider a slightly longer dwell. If you are printing over a chest pocket, press the pocket flat first and use a firm, flat platen surface. A pocket that shifts mid-press is one of the few DTF problems that cannot be fixed after the fact.
Wash Testing Without Wasting Product
Every shop should run a wash test on a new film or a new garment batch, and heavyweight cotton makes that easy because the fabric itself is not the variable you are worried about. Print a small design on one tee, press it at your standard settings, and then run it through five home wash cycles at normal temperature, inside out, with a normal dry. Check the edges after each cycle.
What you are looking for is edge lift, which usually points to insufficient pressure or a short dwell, and fine cracking across the design, which often means the film was stretched during application or the garment was still damp. If a print survives five cycles with no change, it will generally hold for the life of the shirt. If it fails at cycle two, you have saved yourself a batch of returns.
Common Questions From Print Shops
Do I need to pre-wash Shaka Wear tees before pressing DTF?
No. Pre-washing adds a step and can introduce shrinkage and wrinkles that complicate placement. A five to seven second pre-press to remove moisture plus a lint roll is enough for a clean bond on new cotton blanks.
Can I stack multiple DTF transfers on the same shirt?
You can, but press them one at a time with a cover sheet between passes. Stacking uncured transfers in a single press traps air and creates weak adhesion. If you are layering for a design effect, press the base layer, let it cool, then apply the next.
Why does my print look dull after peeling?
Peel temperature is the usual culprit. Peeling cold gives a slightly glossier finish, while peeling warm gives a softer, more matte hand. If the print looks cloudy, check that your pressure is firm enough and that the film was not applied over a damp surface.
How much does a gangsheet actually save?
It depends on your design mix, but the savings come from two places: film area that would otherwise be wasted, and labor spent handling individual transfers. Shops running repeat orders usually find the biggest gain in the second category, because a saved layout turns a rebuild into a reprint.
What temperature should I store DTF transfers at before use?
Keep them cool, dry, and out of direct sunlight. High humidity is the main enemy, since moisture in the film leads to bubbling during press. A sealed bag in a climate-controlled room is plenty.