
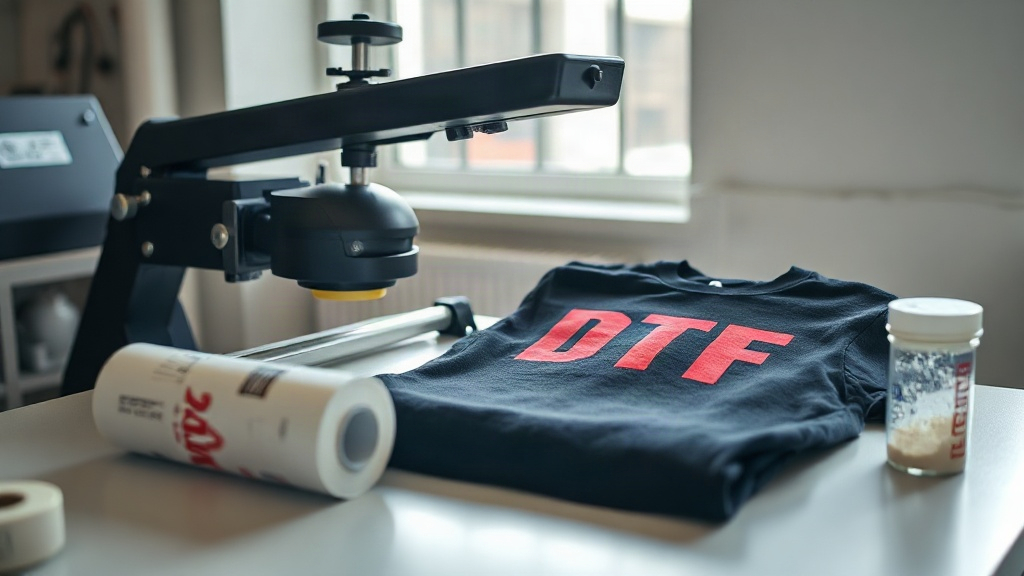
If you've ever admired a custom t-shirt with a design that seems to pop off the fabric, chances are it was created using DTF printing. This innovative technology has taken the apparel decoration world by storm, offering a versatile and accessible way to produce vibrant, durable prints on a wide range of fabrics. Whether you're a small business owner, a hobbyist, or just curious about how your favorite custom gear gets made, understanding DTF printing opens up a world of creative possibilities.
What Exactly Is DTF Printing?
DTF stands for Direct to Film. Unlike other methods that print directly onto the garment, DTF involves printing your design onto a special film, applying a powder adhesive, and then transferring it onto the fabric using a heat press. This two-step process allows for incredible detail and color vibrancy that rivals more complex techniques like screen printing or DTG (Direct to Garment).
The magic of DTF lies in its simplicity and flexibility. You can print on almost any fabric: cotton, polyester, blends, even nylon and leather. No need for pre-treatment or special coatings, which makes it a favorite for those who want professional results without a steep learning curve.
Why DTF Printing Stands Out
There are several reasons why DTF printing has become a go-to method for custom apparel. Let's break down the key advantages.
Unmatched Versatility
With DTF, you're not limited to light-colored or 100% cotton fabrics. The white ink layer in DTF transfers acts as a base, allowing your design to show up brightly on dark colors and synthetic materials. This means you can print on the same diverse range of garments that your customers request, from performance wear to canvas totes.
Durability That Lasts
When applied correctly, DTF prints are incredibly durable. They withstand repeated washing without cracking, peeling, or fading. The key is in the quality of the film, powder, and the heat press settings. We'll cover those details later, but know that a well-made DTF transfer can outlast the garment itself.
Cost-Effective for Small Runs
Unlike screen printing, which requires separate screens for each color and becomes cost-effective only at higher quantities, DTF is economical for short runs. You can print one-off designs or small batches without breaking the bank. This makes it perfect for personalized gifts, sample orders, or limited-edition drops.
The DTF Printing Process Step by Step
Ready to see how it all comes together? Here's a detailed walkthrough of the DTF printing process from start to finish.
Step 1: Design Preparation
Everything starts with your artwork. Use graphic design software like Adobe Photoshop, Illustrator, or free alternatives like GIMP or Inkscape to create your design. Remember to mirror your image horizontally before printing, as the transfer will be flipped when applied. Also, ensure your design is in CMYK color mode for accurate color reproduction.
Step 2: Printing onto Film
Load your DTF printer with DTF film. This film has a special coating that receives the ink. The printer lays down a layer of white ink first (if your design has white or is on a dark garment), followed by the colored inks. Some printers combine these in one pass, while others require a separate white layer. Always follow your printer's guidelines for ink settings and film type.
Step 3: Applying Adhesive Powder
While the ink is still wet, sprinkle DTF adhesive powder evenly over the printed area. The powder sticks to the wet ink. Then, shake off the excess and return it to the container for reuse. This powder is what will bond the transfer to the fabric during heat pressing.
Step 4: Curing the Transfer
Place the film with the powder into a curing oven or under a heat press at around 160°C (320°F) for 2-3 minutes. The powder melts and forms a smooth, dry layer. Curing is crucial; undercured transfers may not adhere properly, while overcured ones can become brittle. A good sign is when the powder looks glossy and the image feels dry to the touch.
Step 5: Heat Pressing onto Garment
Set your heat press to 160°C (320°F) with medium pressure. Place the cured transfer onto the garment with the design facing up. Press for 10-15 seconds. Then, wait for it to cool completely before peeling off the film. For a softer feel, you can peel while warm, but cold peel generally gives sharper edges. After peeling, press again for 5 seconds with a protective sheet to ensure maximum durability.
Essential Materials and Equipment
To get started with DTF printing, you'll need a few key items. Here's a checklist:
- DTF printer: A dedicated printer that uses DTF inks (often converted Epson or Ricoh models).
- DTF film: Available in rolls or sheets, with a matte or glossy side for printing.
- DTF ink: CMYK plus white ink, formulated for DTF printing.
- Adhesive powder: Thermoplastic polyurethane (TPU) powder, fine or medium grain.
- Heat press: A commercial-grade press capable of reaching 160°C (320°F) with consistent pressure.
- Curing oven: Optional but recommended for even curing; a heat press can also work.
- Protective sheets: Teflon or parchment paper to cover transfers during pressing.
Tips for Flawless DTF Transfers
Even with the right equipment, small mistakes can ruin your results. Here are some hard-earned tips from experienced DTF printers.
- Control moisture: Humidity affects powder adhesion. Store film and powder in a dry place, and consider using a dehumidifier in your workspace.
- Test your powder: Not all powders are equal. Try a small batch to find the right amount and curing time.
- Adjust pressure: Too little pressure means poor adhesion; too much can cause ink to spread. Aim for medium pressure.
- Pre-press garments: This removes wrinkles and moisture, ensuring a smooth surface for the transfer.
- Mind the peel: Cold peel gives crisp edges; warm peel gives a softer hand. Experiment to see what works best for your designs.
Common DTF Mistakes and How to Avoid Them
Newcomers often run into a few recurring issues. Let's tackle them head-on.
Transfer Not Sticking
If your transfer peels off after washing, it's likely due to insufficient pressure, incorrect temperature, or undercuring. Double-check your heat press settings and ensure the powder is fully melted. Also, make sure the garment is clean and dry before pressing.
Faded or Dull Colors
This can happen if you're not using enough white ink or if the white layer isn't opaque enough. Increase the white ink density in your printer settings or apply a second white layer. Also, ensure your film is compatible with your inks.
Powder Clumping
Clumps occur when powder is applied too thickly or in high humidity. Shake off excess powder thoroughly and store it in an airtight container. If clumps persist, try a finer powder grade.
DTF vs. Other Printing Methods
How does DTF stack up against screen printing, DTG, and vinyl? Here's a quick comparison.
- Screen printing: Better for large orders, but expensive for small runs and limited to fewer colors. DTF excels in small batches and full-color designs.
- DTG: Great for cotton, but requires pre-treatment and can be less vibrant on dark shirts. DTF works on more fabrics and has a softer feel.
- Vinyl: Ideal for simple text and shapes, but not for complex images. DTF handles intricate details with ease.
Ultimately, DTF offers a balance of quality, versatility, and cost that's hard to beat for many applications.
Cost Breakdown: What to Expect
Starting with DTF printing requires an initial investment, but the per-print cost is relatively low. Here's a rough estimate:
- Printer: $500 to $3,000 depending on model and features.
- Film: About $0.50 to $1 per A4 sheet.
- Ink: $50 to $100 per liter set, lasting for hundreds of prints.
- Powder: $20 to $40 per kilogram, enough for many transfers.
- Heat press: $200 to $800.
Per print, you're looking at around $1 to $3 for a standard-sized design, which you can retail for $15 to $30 or more. That's a healthy margin.
Frequently Asked Questions
What fabrics can I use with DTF printing?
DTF transfers adhere to a wide range of fabrics, including cotton, polyester, cotton-poly blends, nylon, leather, and even some treated canvas. The key is that the fabric can withstand the heat press temperature (around 160°C/320°F) without scorching. Always test on a scrap piece first.
How long do DTF prints last?
When properly applied and cared for, DTF prints can last as long as the garment itself. They resist cracking, peeling, and fading through dozens of washes. To maximize longevity, wash inside out in cold water and avoid harsh detergents or high heat in the dryer.
Can I use DTF on dark colors?
Absolutely! DTF printing is particularly well-suited for dark fabrics because the white ink layer provides a bright base for the colors. This ensures your design stands out vividly, even on black or navy backgrounds.
Do I need a special printer for DTF?
Yes, you need a printer that can handle DTF inks, which are thicker and require a white ink channel. Many people convert Epson or Ricoh printers with DTF ink systems. Alternatively, you can buy a dedicated DTF printer from brands like Vivid, Prestige, or UniNet.
How do I store DTF transfers?
Store cured DTF transfers in a cool, dry place away from direct sunlight. Keep them flat or rolled loosely to avoid creasing. They can last for several months if stored properly. Avoid high humidity, which can cause the powder to become tacky.
Final Thoughts
DTF printing is a game-changer for anyone looking to create custom apparel with vibrant colors and lasting durability. Its versatility across fabrics, cost-effectiveness for small runs, and relatively simple process make it an attractive option for beginners and pros alike. By following the steps outlined here and avoiding common pitfalls, you'll be producing professional-quality transfers in no time. So why not give DTF a try? Your creativity is the only limit.